In this post I describe how I have realized the EggPainter and I show all the steps in a video
Then I show how to test the EggPainter and how to print on some eggs and some table tennis ball
Building Steps
In the below video all the necessary steps to build the EggPainter from scratch. In the remaining part of the post some additional details and useful information
Egg Painter
The EggPainter is a full project available on githiub. Its creator has shared all the necessary elements to build the EggPainter project
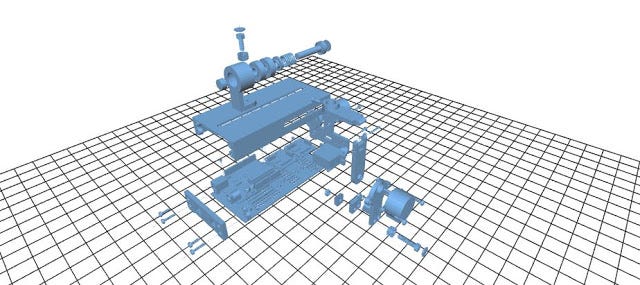
In order to realize the EggPainter project the following components are mandatory:
- Arduino Uno
- Stepper motors
- Case
- Supporting components
A key characteristic of this project is that all the STL file for 3d printing have been provided by the author. In other words a user can print with a normal 3d printer all the necessary elements to build the project. Obviously the Arudino and other electronic or mechanical components should be procured elsewhere.
Kit
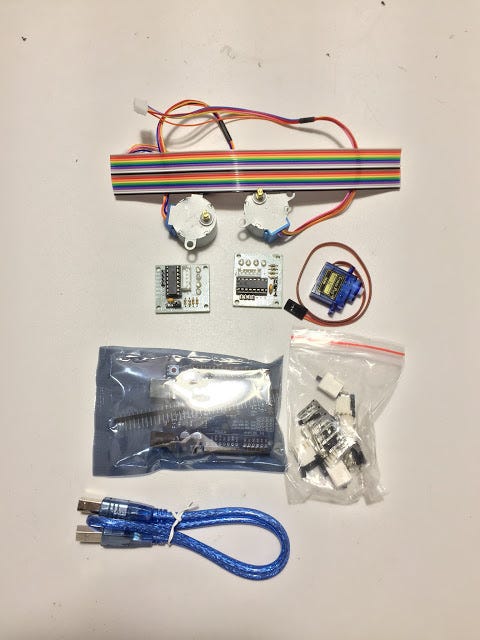
The Kit I have used (I didn’t print it myself) is coming from Russia and when I have open it looked like that:
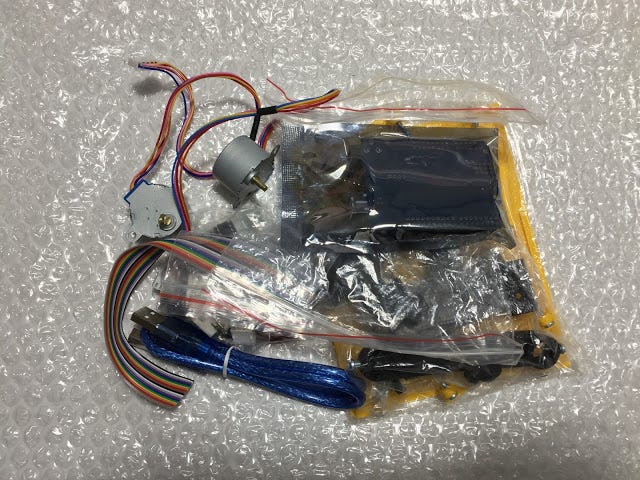
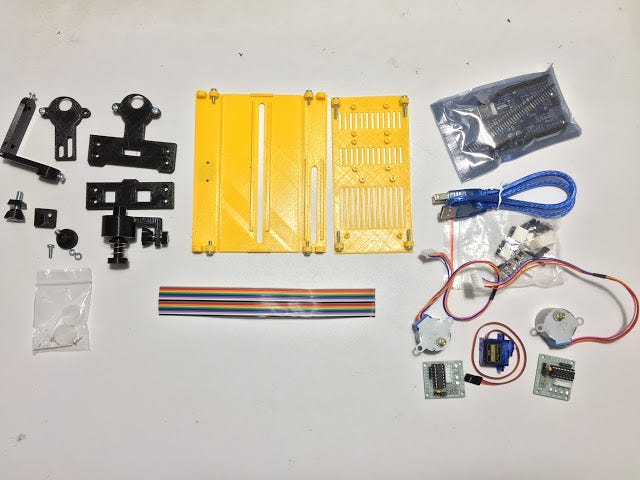
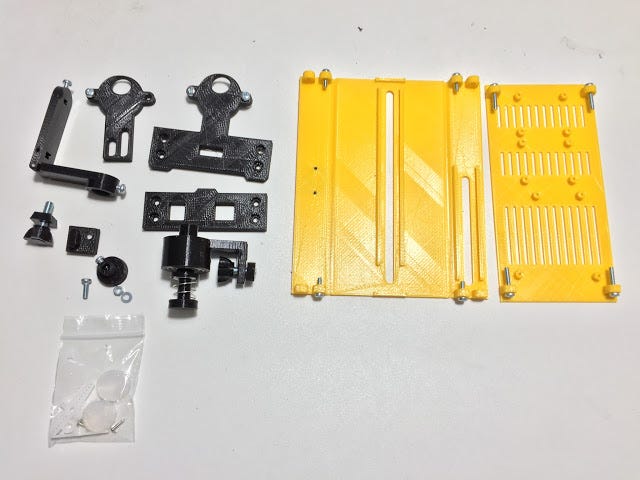
As it is possible to see all the necessary components to build the EggPainter are available in this kit
Disclaimer:
During the building of the EggPainter I have faced a major problem with this kit. Once I have closed the case with the bolt and nuts the remaining space for wiring it was absolutely not enough. In other words I was not able to properly close the case with the original kit.
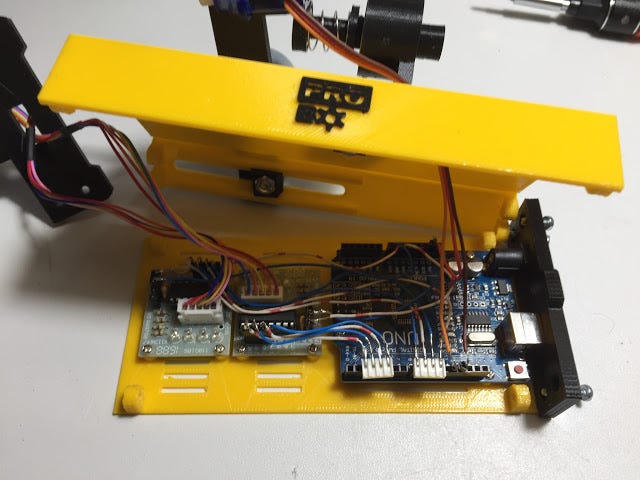
For this reason I have thrown away all the provide cabling and rebuild it from scratch. In any case for a maker with some basic capabilities it should not be a complex task.
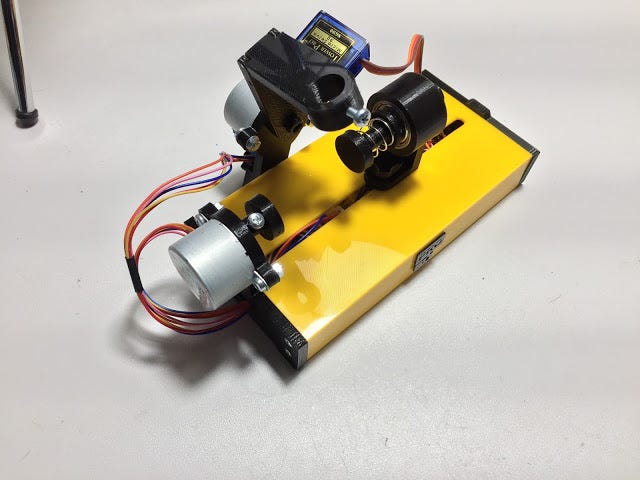
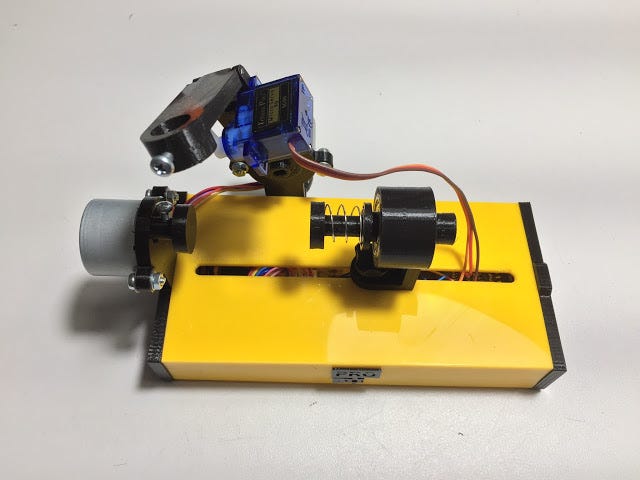
Below the EggPainter fully assembled after my modifications
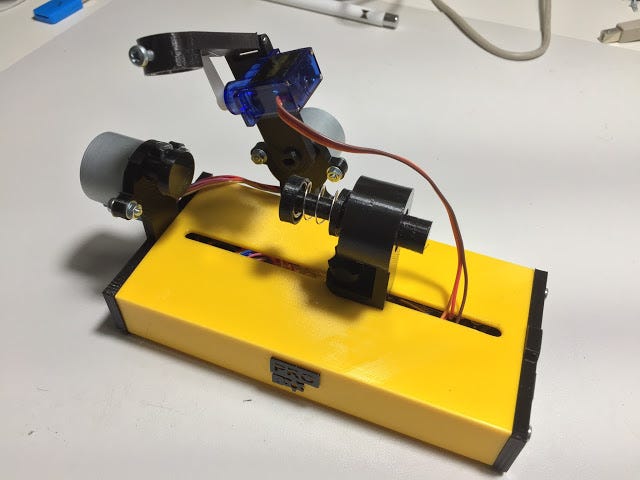
Firmware
The EggBot firmware is available here
Let’s now follow the below steps:
- Download the .zip file and unzip it in a preferred directory
- Open the EggDuino.ino file in the Arduino IDE
- Compile the code and upload it to your Arduino Uno
- Quit from the Arduino IDE
At this stage the controlling software of the EggPainter is fully loaded on Arduino control board.
Printing Software
In order to print some vector art drawing it is necessary to instruct the Arduino board with the proper commands. This can be achieved through the use of a software called Inkscape.
Perform the following steps:
- Download Inkscape from here (Note:windows user should download 32 bit version)
- Install Inkscape and run it
- Download the EggBot extension from here
- Unzip the file and copy its content in the directory shown here Edit > Preferences > System: User
- Restart Inkscape
If the above steps have been successfully completed you should see EggBot in the Extension menu
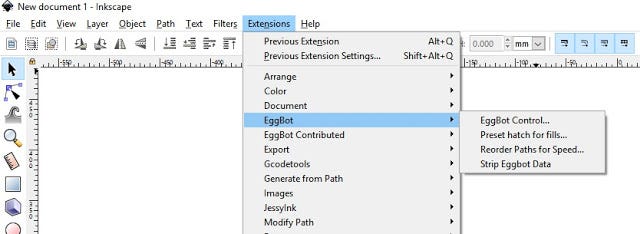
Testing
Now we can move into testing phase as we have all the necessary elements to operate the EggPainter
In the below video I show how to test the EggPainter and check that all the motors are properly working.
The test is executing from the Manual tab in the EggBot menu
If everything works fine and the pen is goin up and down, the horizontal and pen motors spin in two directions then the EggPainter is ready for printing
Stampa
In order to print let’s import a SVG file in Inkscape (File menu -> Import) and let’s adapt the drawing area to:
- 3200 x 800 px for eggs
- 4150 x 600 for table tennis balls
I really suggest you to experiment with those values and to find the right one for your print.
Below some pictures and video of printing done by me
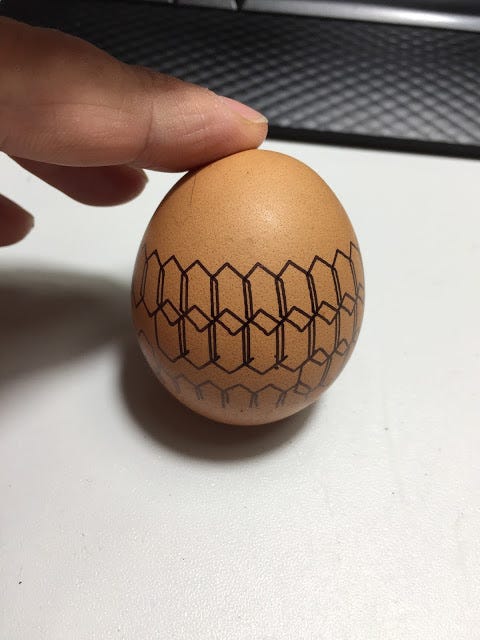
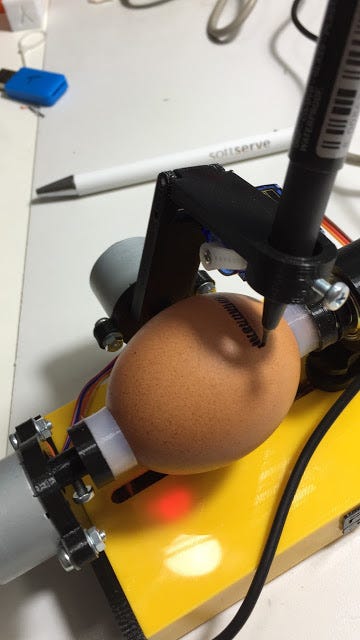
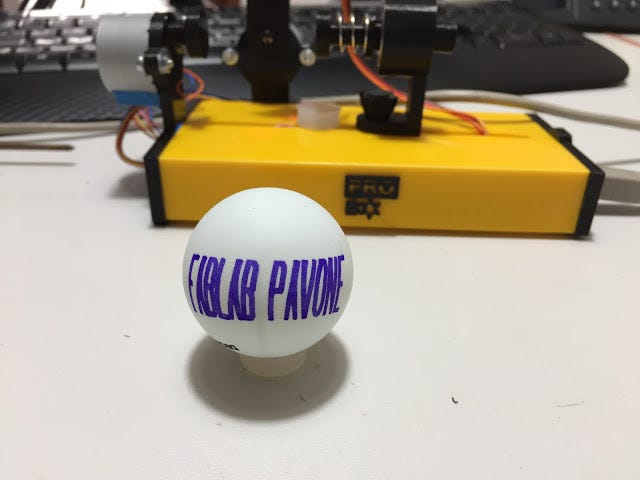
Happy Egg Printing everyone!!! :)
Hello,
RispondiEliminaI seem to have problems with the servo movement and Inkskape errors. Do you have a good guess what I could do to fix it? Here is the footage: https://youtu.be/gU1dbdaxEkc
Thanks!